// Installation guide
Install your TireNex
TireNex is designed for owner installation. Total install time is typically 30 to 60 minutes depending on access and how clean you want the wire routing.
-
1
Mount the main unit and antenna
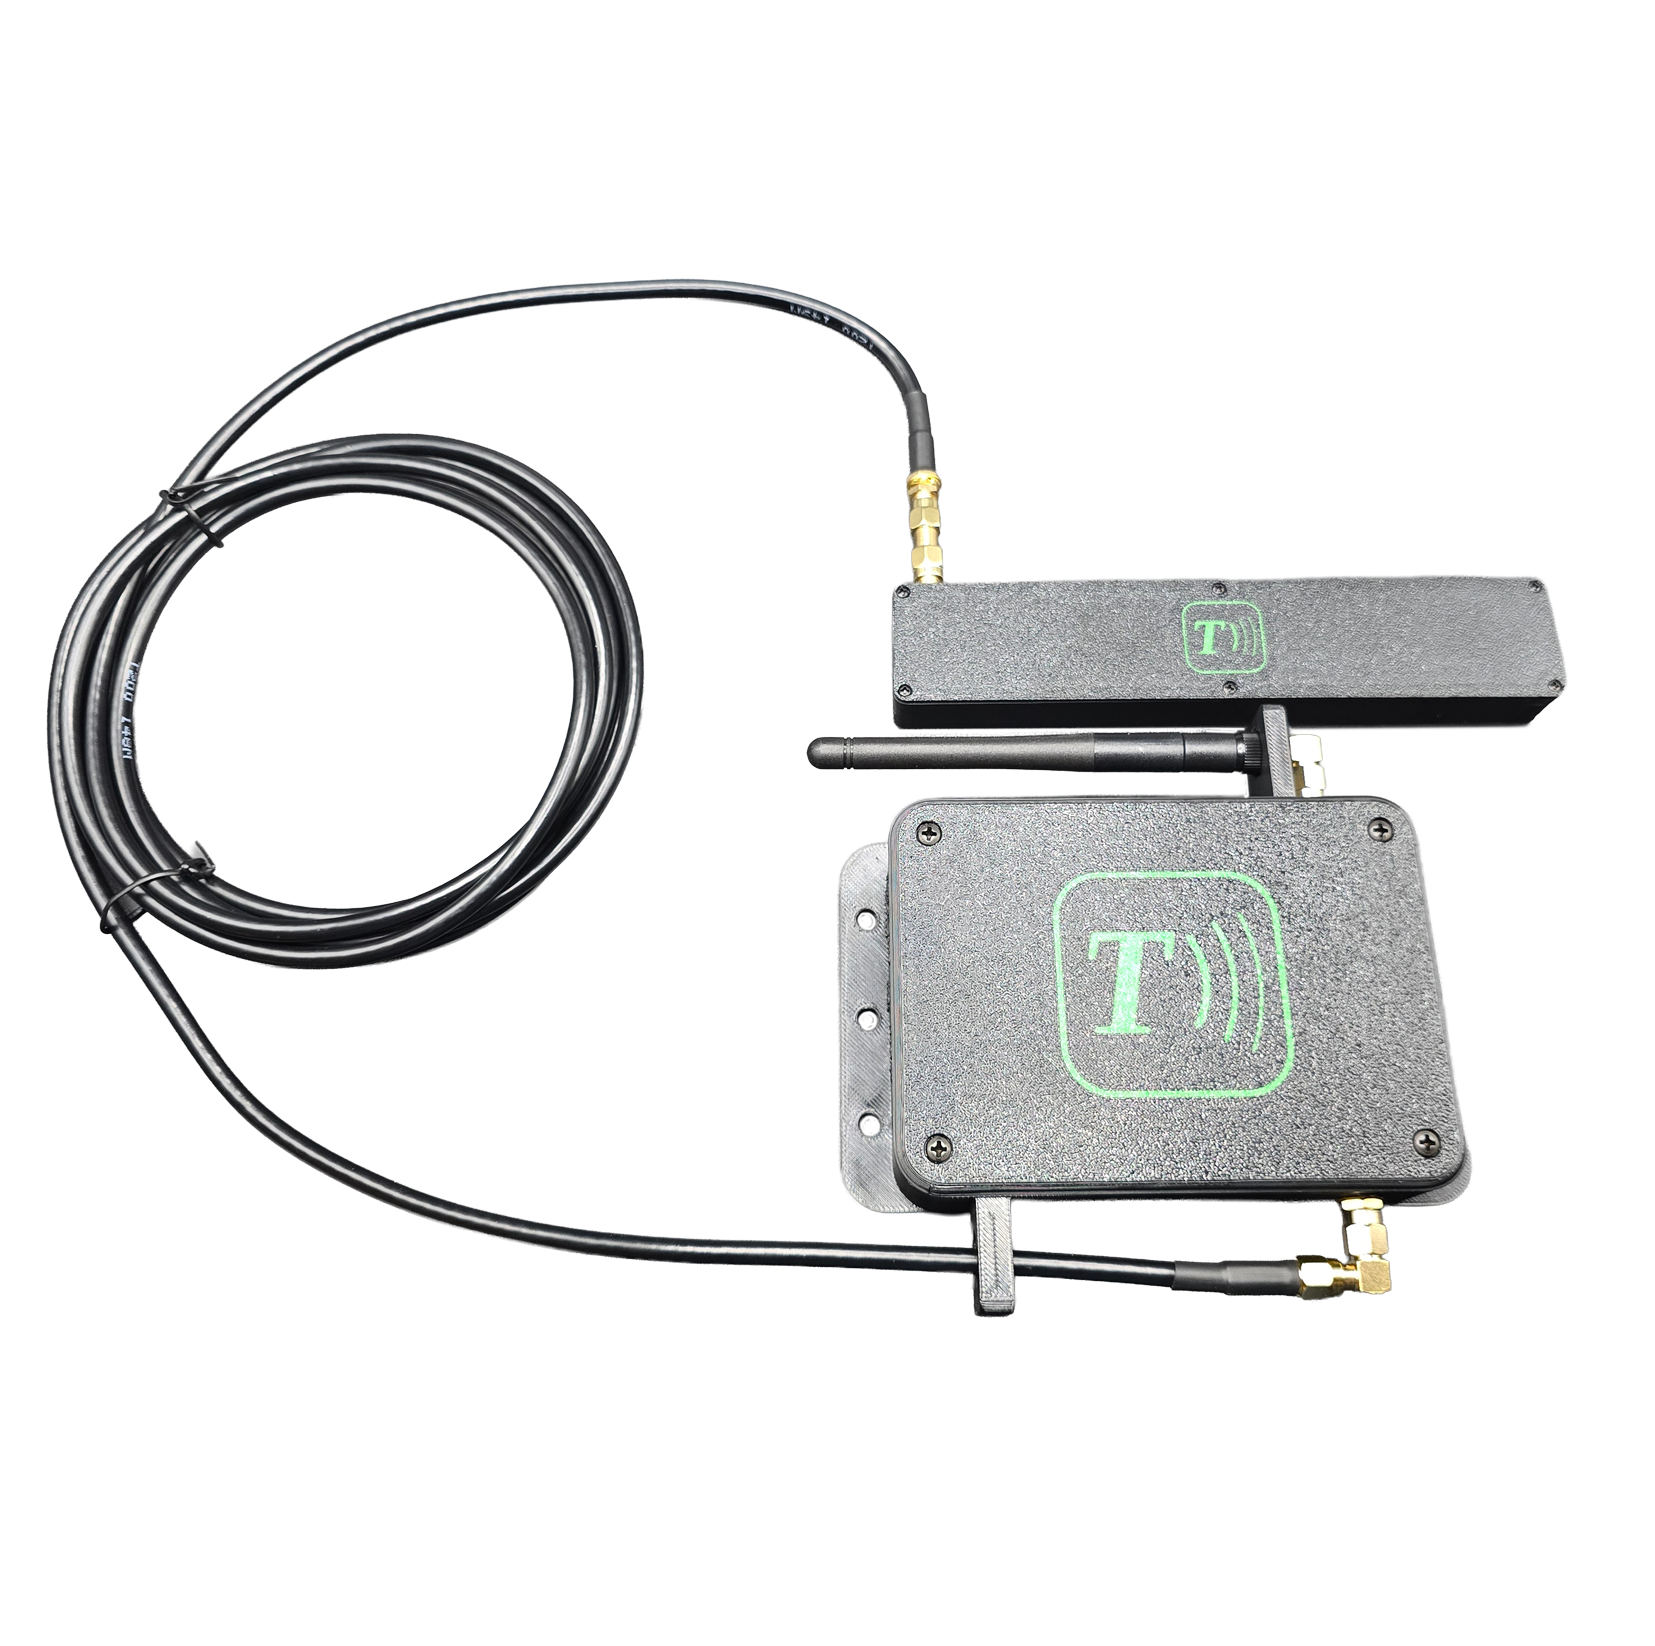
Pick a home for the two parts of the system:
- Main unit — anywhere with access to switched 12V power (it powers on with the ignition, not directly off the battery).
- Antenna — at the top‑center of the windshield / headliner area for the best signal reception.
-
2
Wire it up
Main harnessWire Connect to Notes Red (12V+) Switched 12V ignition source Module is reverse‑polarity protected. Black (GND) Chassis or battery ground Keep the ground connection clean and short. 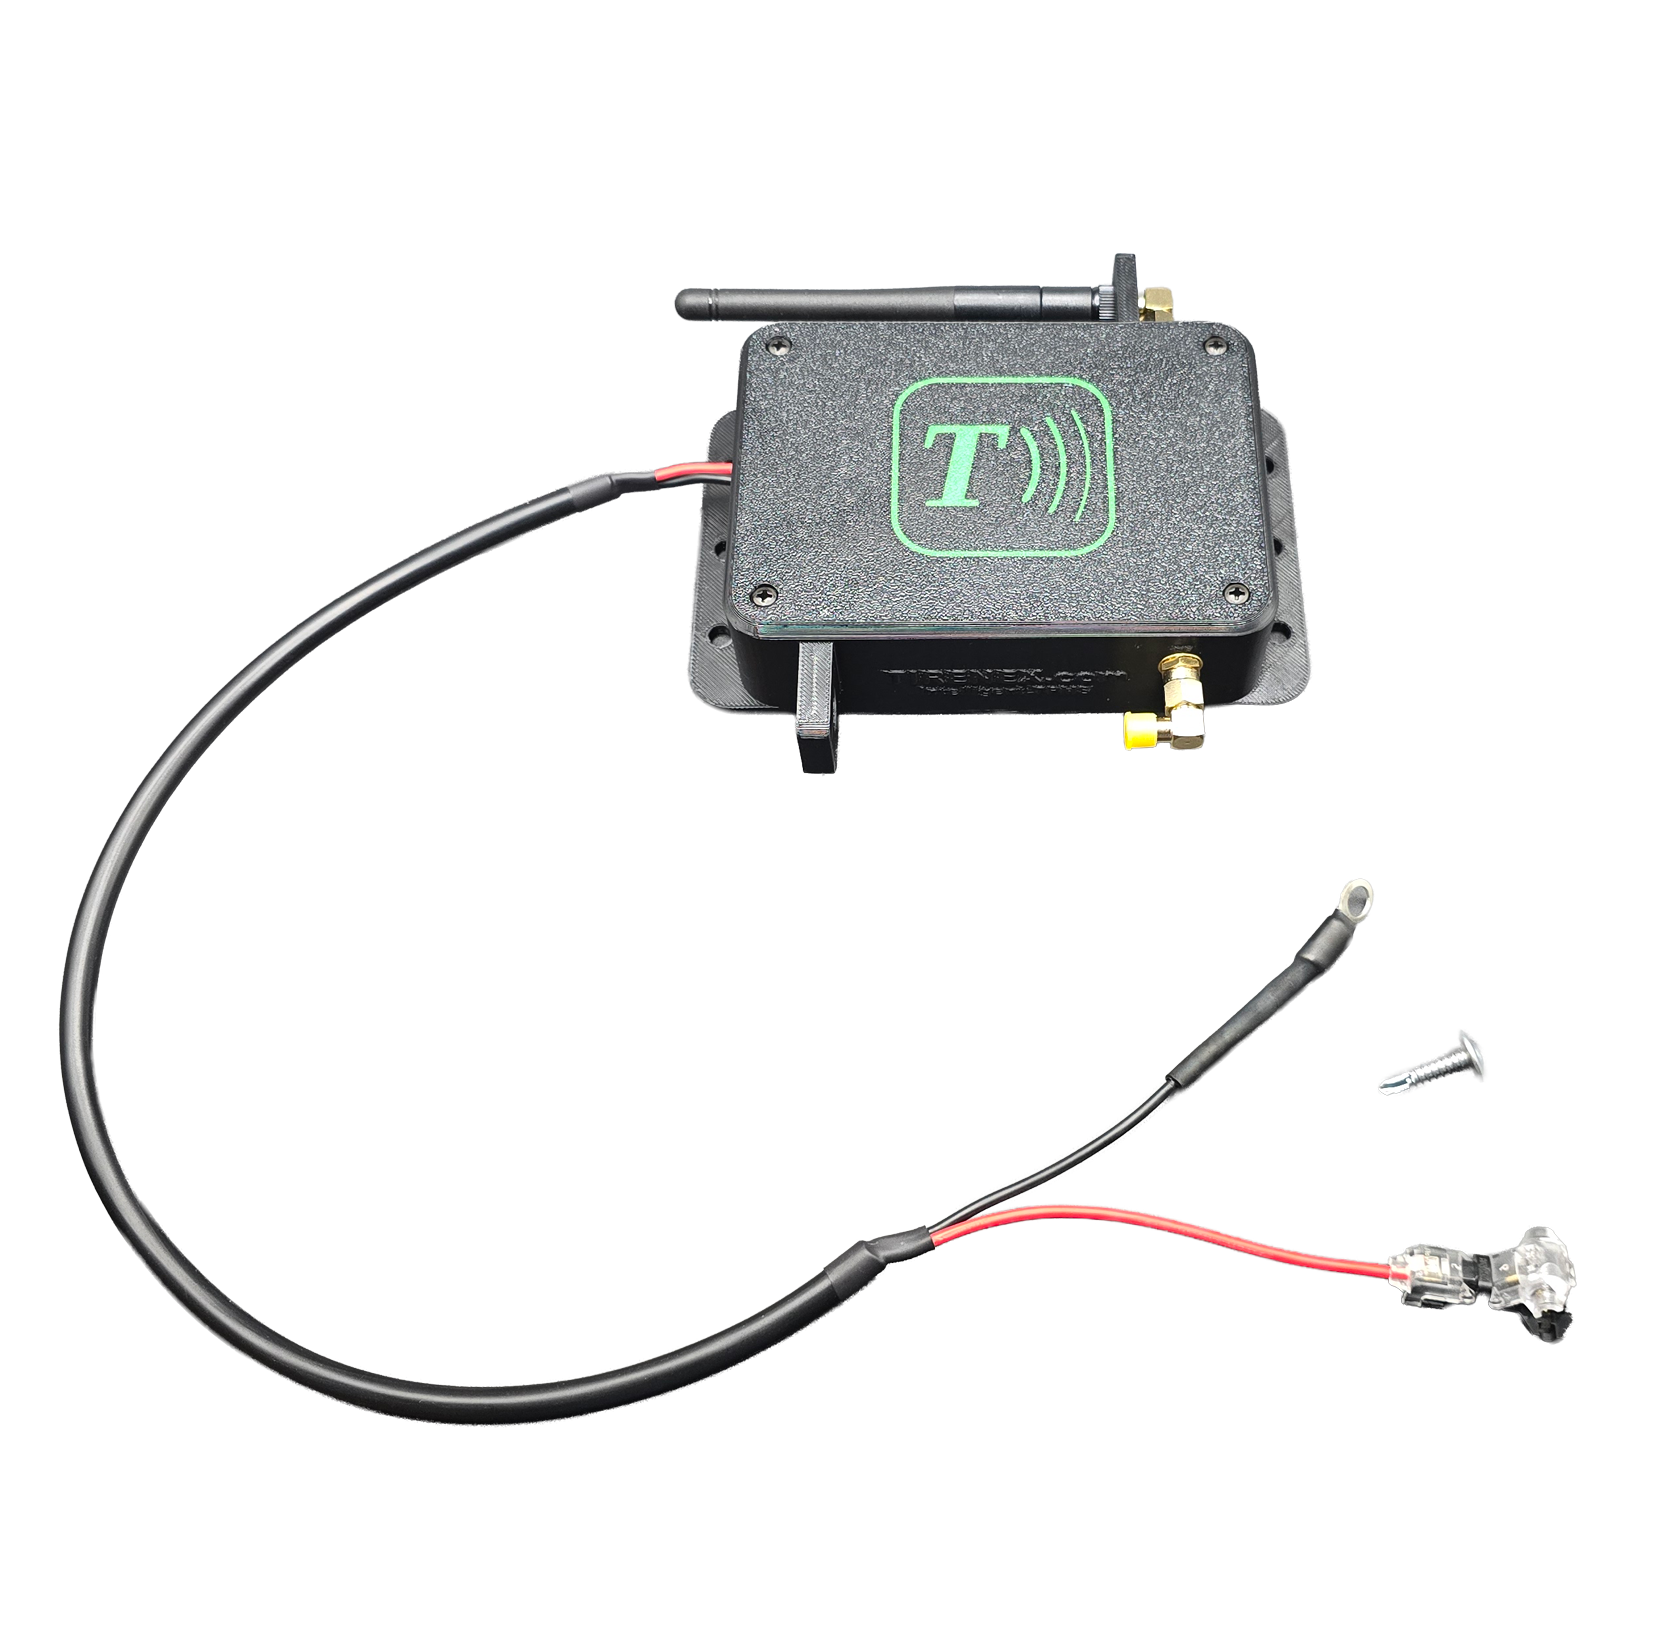
The CAN harness below is optional — it’s only used to integrate TireNex into an aftermarket ECU such as a Terminator X or Dominator. If you don’t know what this is, skip it; it doesn’t apply to you.
CAN harness (optional)Wire Connect to Notes Green CAN‑LO Running a Holley product? We offer a direct plug‑in CAN harness. White CAN‑HI — 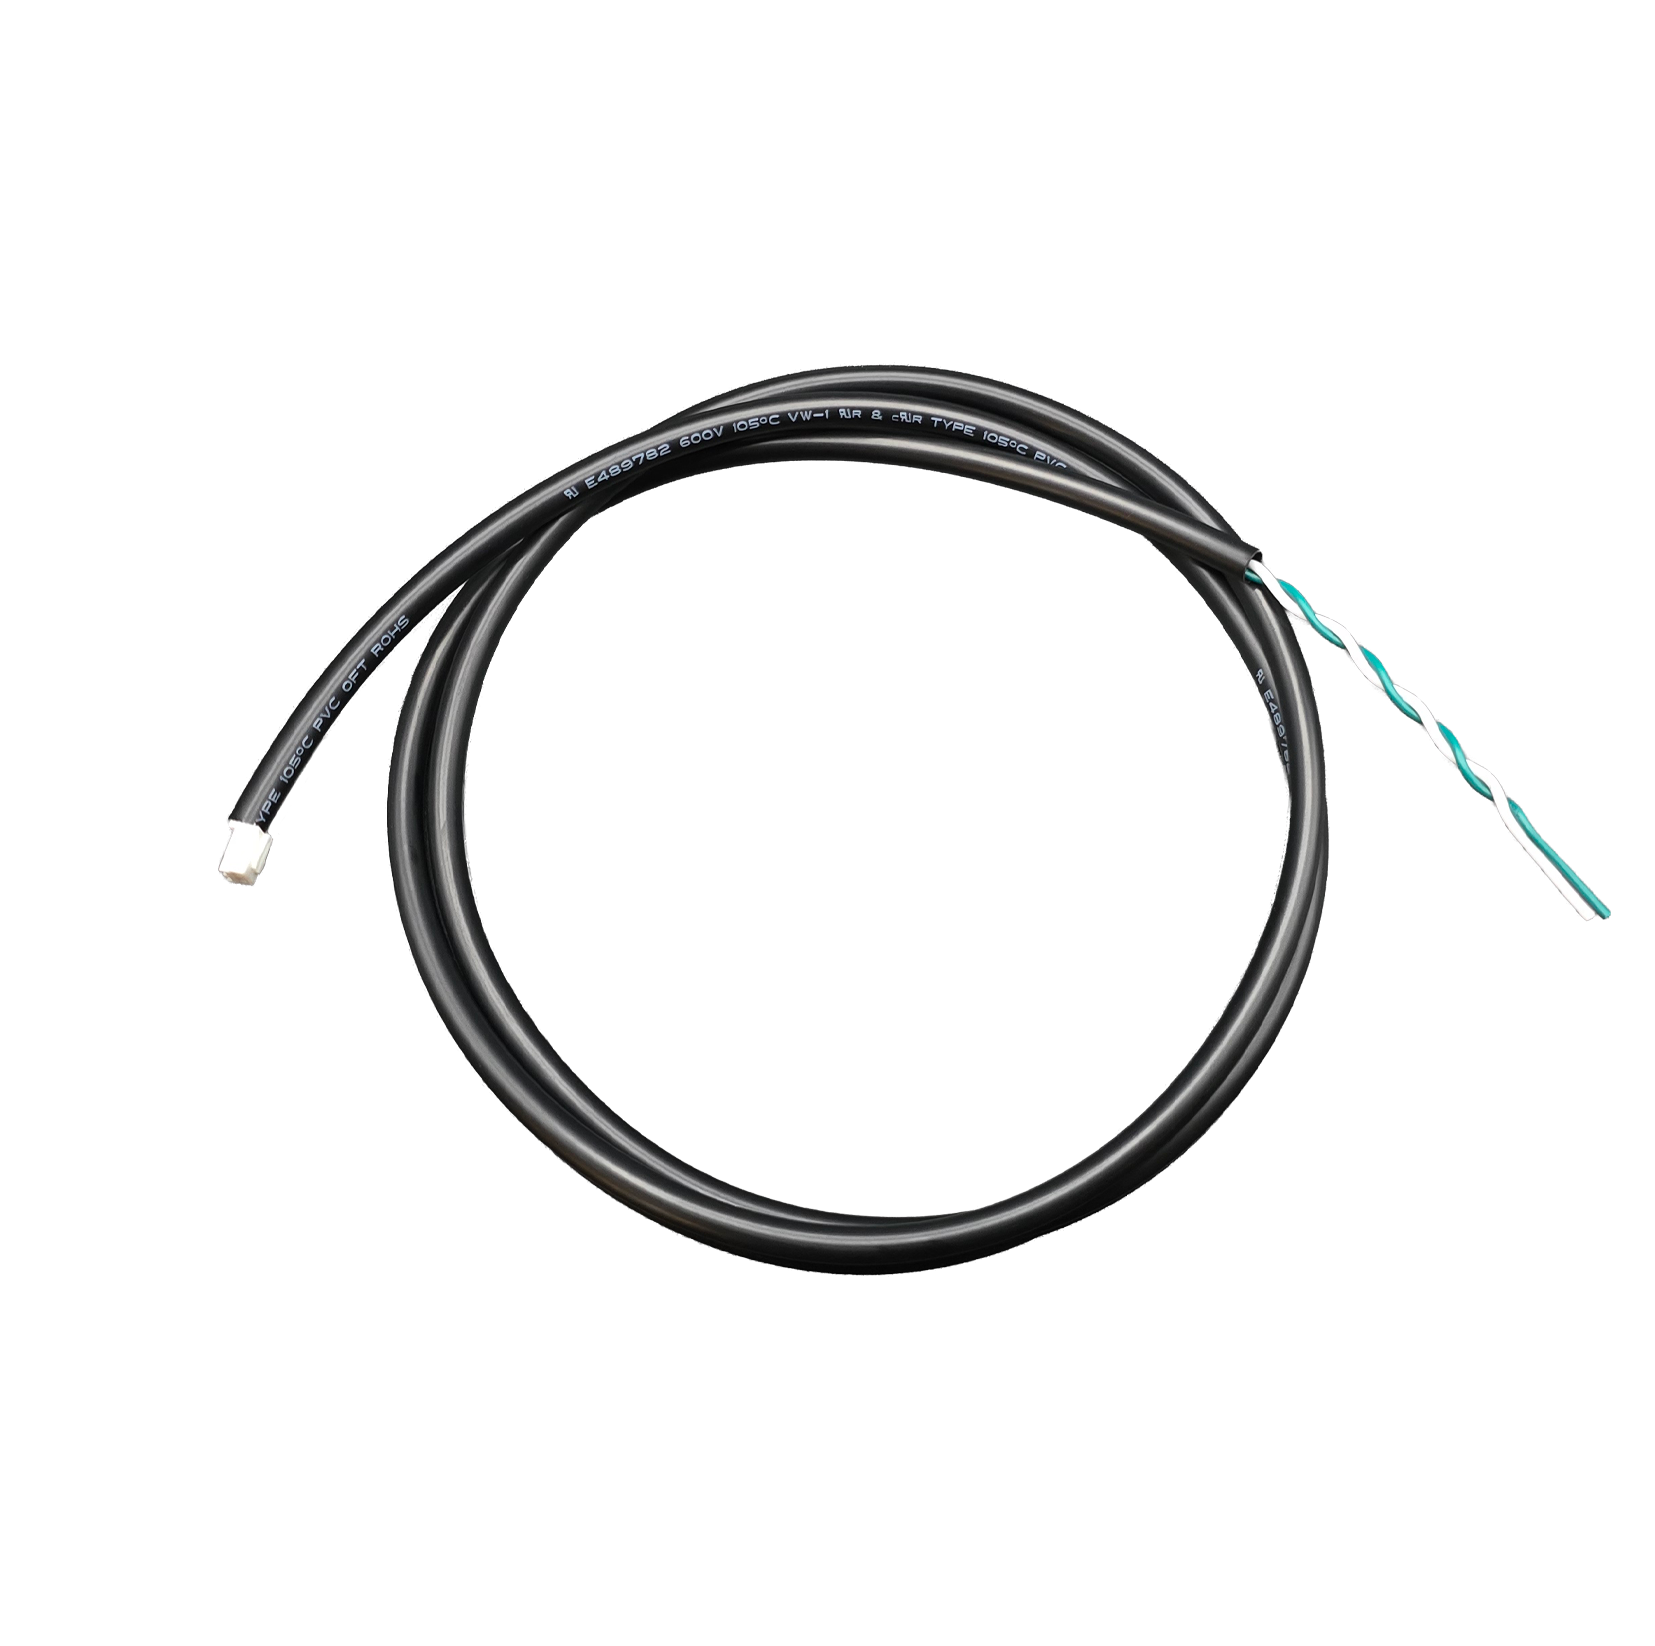
-
3
Connect and install the display
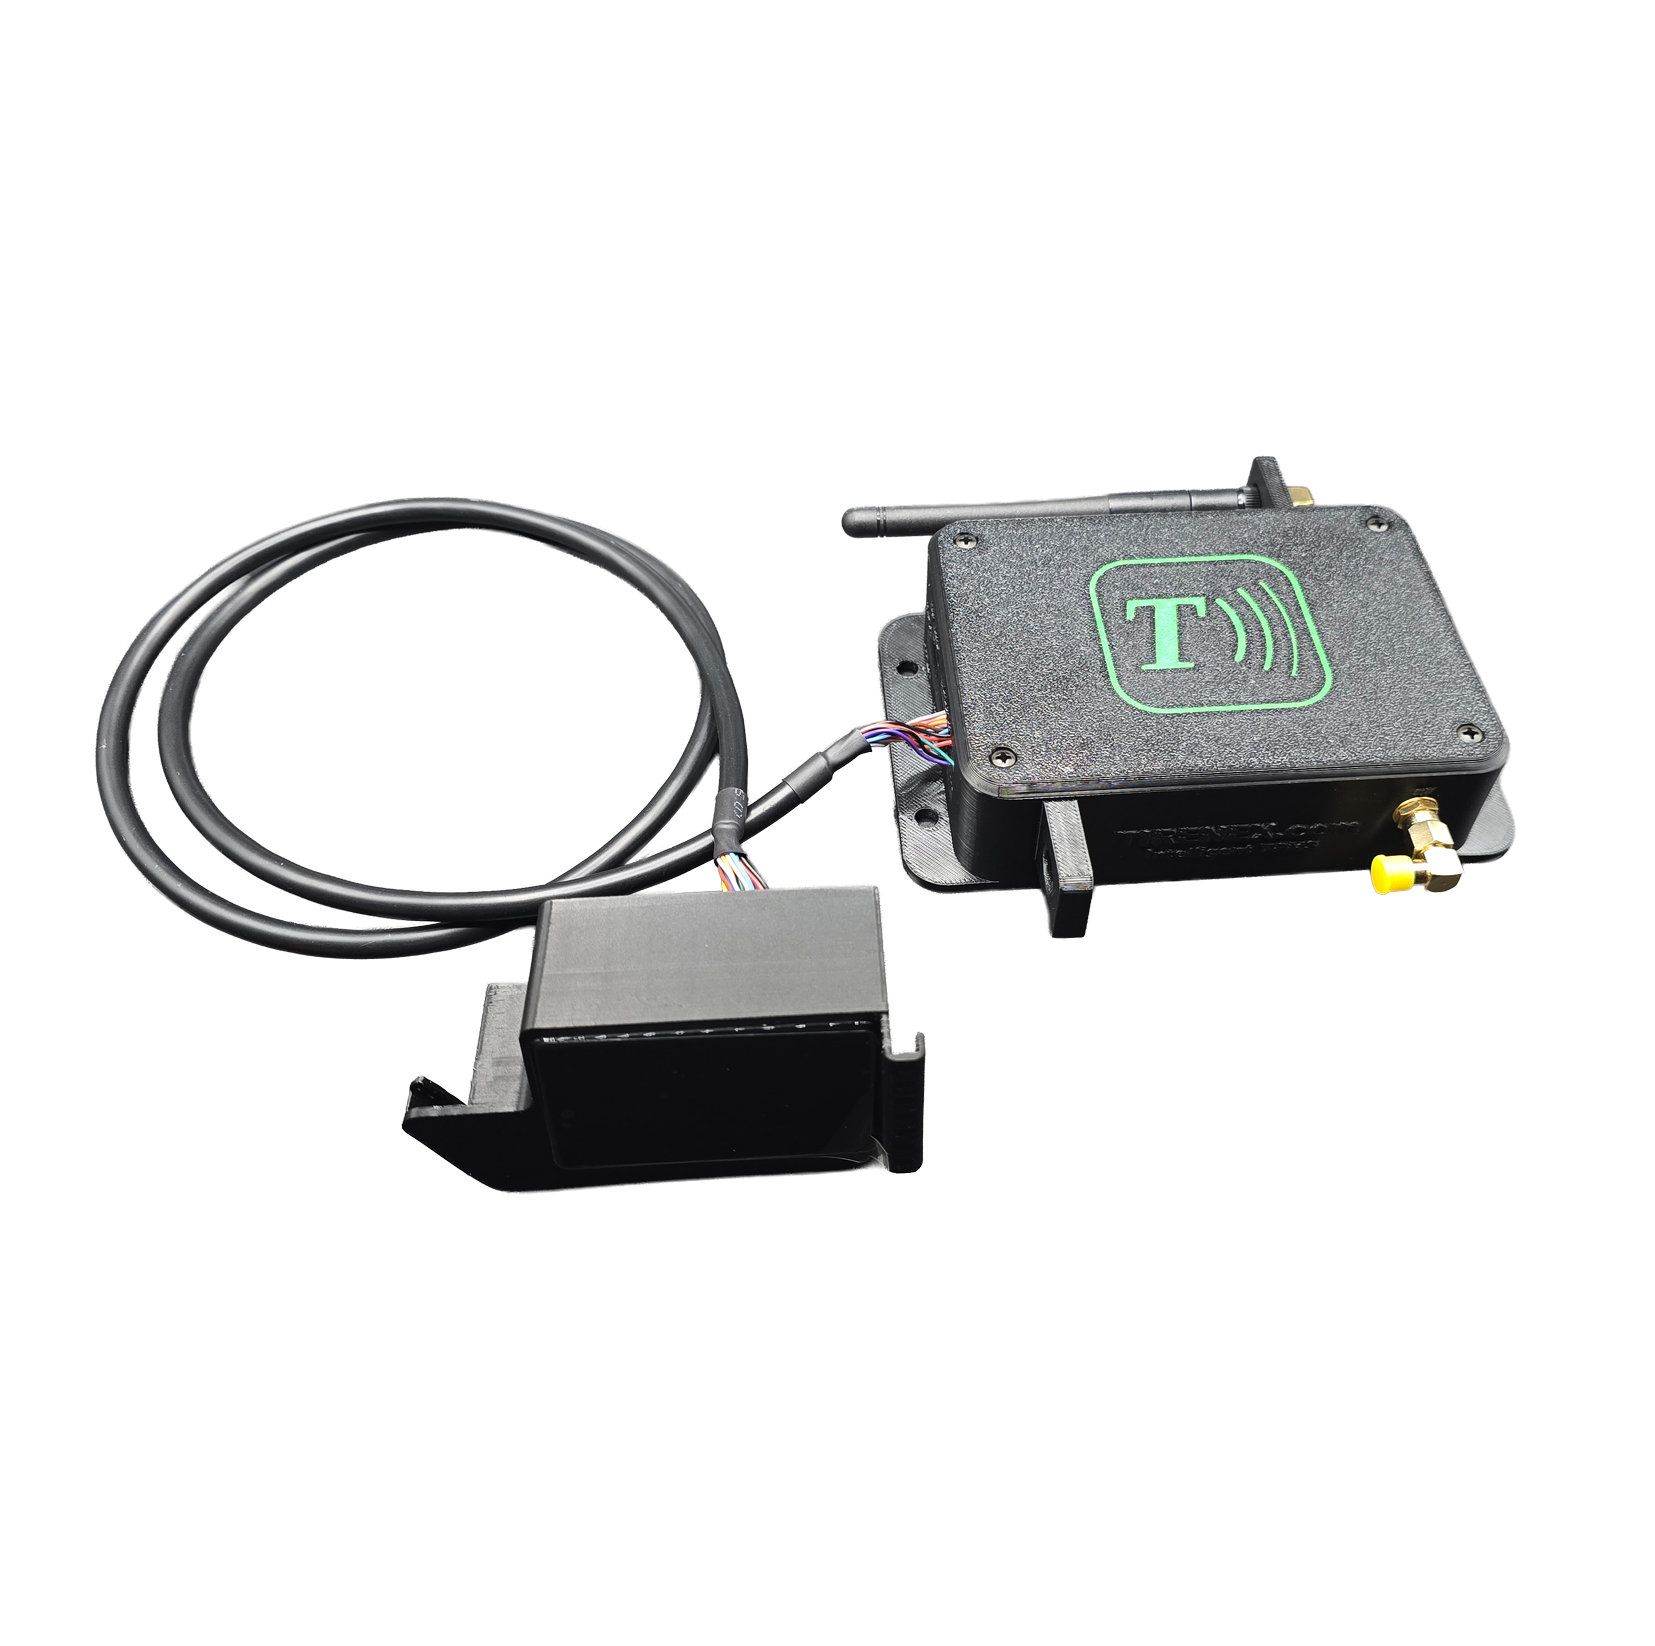
Plug the display connector into the main unit, then mount the TireNex screen using the supplied mount wherever you want it in view.
No screen? Skip this step — you’ll configure everything from the Wi‑Fi portal in the next step.
-
4
Configure the TireNex unit
Installed the TireNex screen? You can skip the portal and configure everything right on the display.
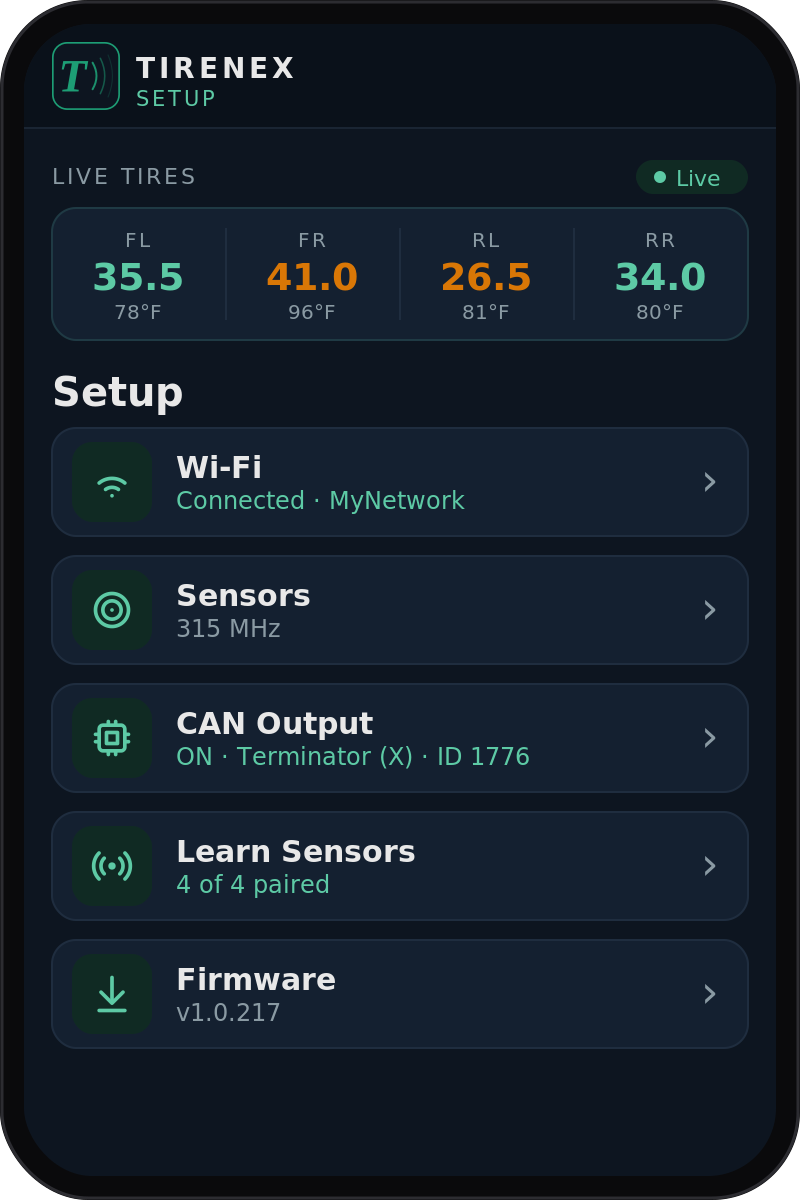
Without a screen, hold the button on the unit for at least 5 seconds to start the Wi‑Fi portal, then:
- Connect to the TireNex‑Setup Wi‑Fi portal with your phone.
- Open 192.168.4.1 in your web browser.
- Set your Wi‑Fi, CAN mode, sensors, and other settings while the portal is active. Saving a Wi‑Fi network lets the unit pull firmware updates.
- Keep the portal open — you’ll pair the sensors next.
-
5
Install the sensors and enter learn mode
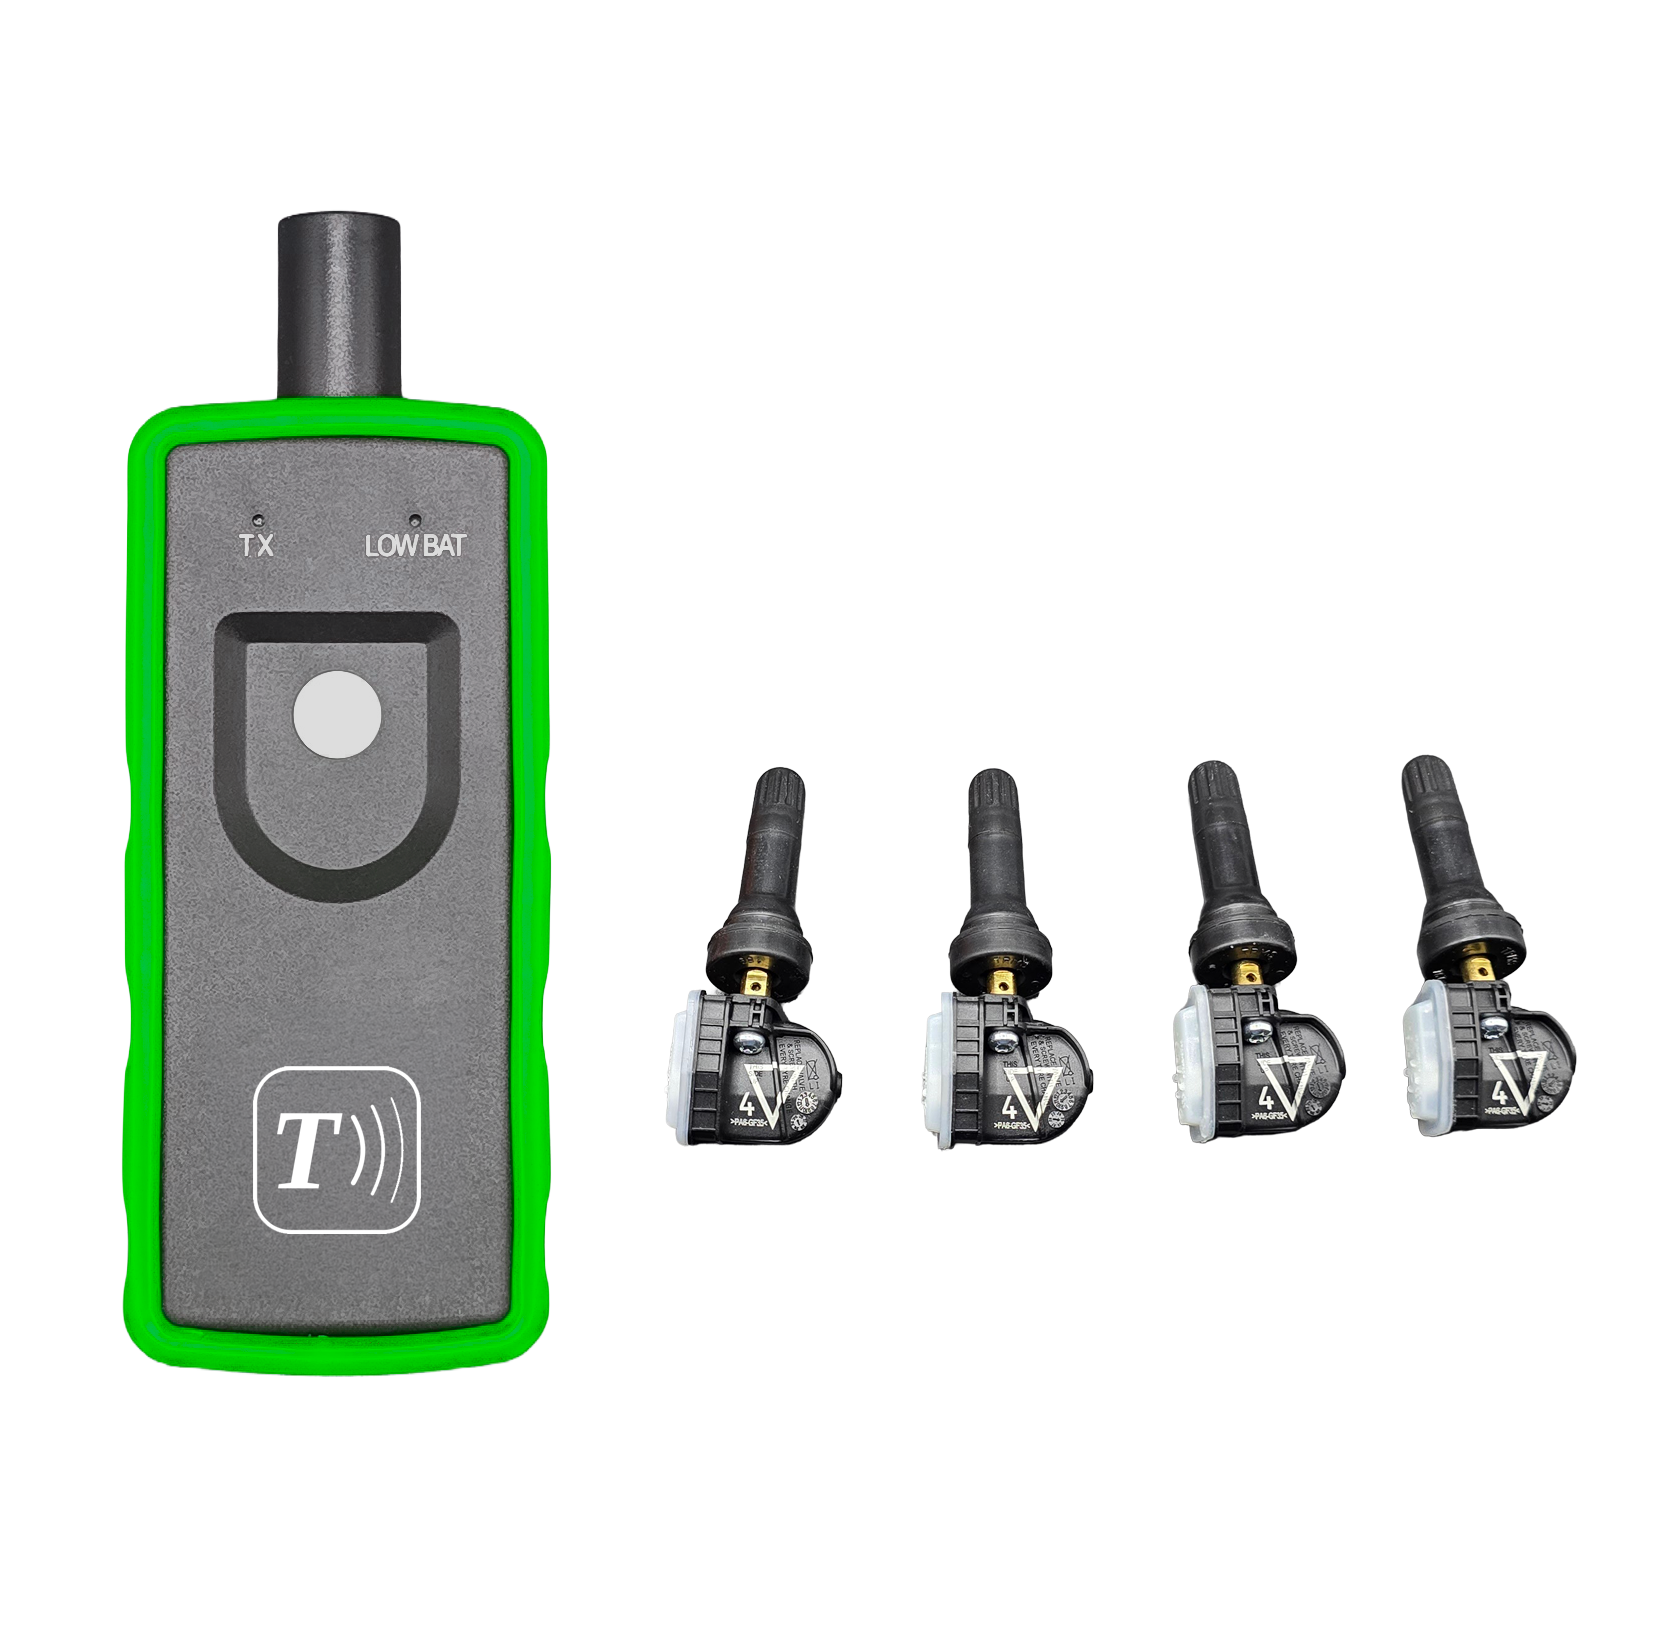
Install the TireNex sensors on all four wheels (internal or external, depending on your kit), then pair them with the system:
- Make sure all four tires are pressurized and the sensors are awake.
- In the portal or on the screen, open Relearn Sensors and start the command.
- Follow the instructions until all four are learned.
Sensor IDs are stored in non‑volatile memory and persist across power cycles. You only need to re‑learn after rotating tires to different positions or replacing a sensor.
-
6
Verify operation
With the engine off and the ignition on, your display should show live PSI and temperature for all four tires. That’s it — you’re done.
Need help?
Post in the support forum with your ECU make/model, sensor part number, and a description of what you’re seeing. Include photos of your wiring if possible — it helps us help you faster.